

I came across this recipe when I was searching for something completely different, wanting to produce some kind of tea biscuit with maple syrup – after all, I did not spend one year of my life in Canada without taking away with me a mild addiction to the distinct caramelly flavor of Canada’s proudest item of national produce. My quest brought up very little but a number of recipes for North-American style cookies unanimously (with only slight variations in degree) prescribing to drench the dough with maple syrup – skeptically, I finally ventured into one of those recipes with an outcome as unconvincing as – I must say – expected. (Needless to say that I am still very hopeful that I may one day present a suggestion on this page for how to include maple syrup into your baking which does full justice to its wonderful and unique flavor.)
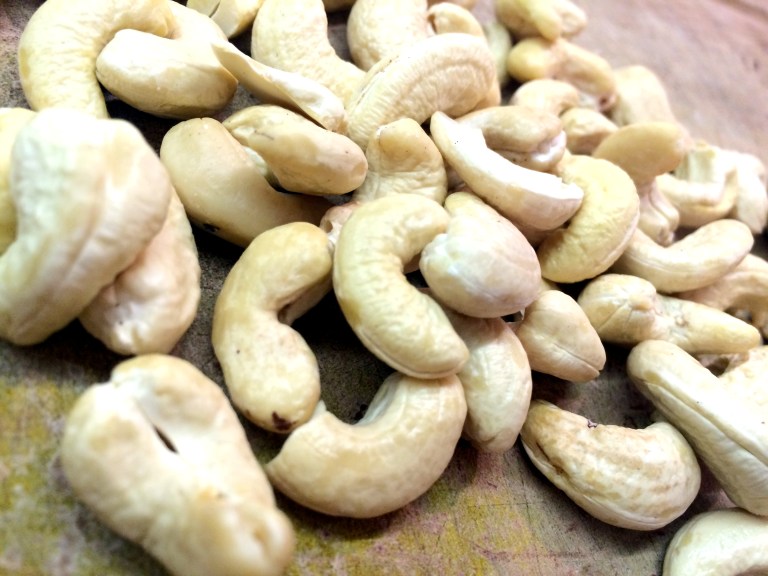
On the bright side, I also came across this recipe and it made me curious enough to venture into North-American baking for a second time – this time, I believe, with a smashing outcome. In the original, the recipe comes with peanuts but I exchanged them with cashew nuts as I prefer them to peanuts for their less dominant taste. You may, of course, change them back to peanuts depending on your taste, but in any case, make sure you use blanched, unsalted nuts.
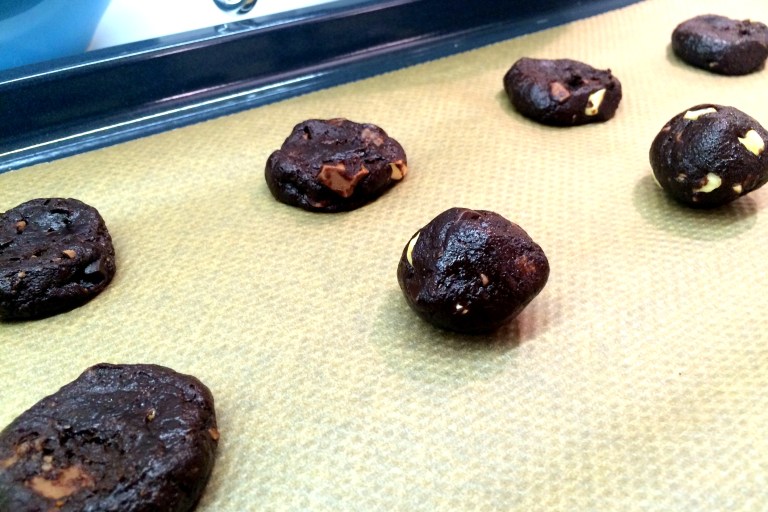
When your baking is focussed more on European baking (as is mine) you will find that it takes some getting used to handle a dough in North American baking and I am really just about starting to get a knack of it, my first attempts being complete failures – for example, I did not know how the consistency of the dough should be, ending up with either far to soft/runny doughs or far to hard ones. I also made the mistake of pressing the dough into flat patties before baking them and I ended up with some sort of unappetizing looking pancakes with hard edges and an over-baked center. To avoid these probably most obvious mistakes, note that the dough should be soft, but neither sticky nor runny – in the recipe below, it should be no problem to form small balls from the dough. After forming the dough into balls, I use a teaspoon to press them into shape; the raw cookies should still be around 1/2 cm thick. Do not press down the edges – it is sufficient and recommended to only press down the center a little bit.
The recipe below will produce around 30 small or around 15 large cookies. It calls for varying the basic recipe in almost any way you wish – for example, try making it with macadamia nuts and white chocolate, exchange the toffee with hard caramel candy (which also has the benefit of being less runny – however, chop finely if you love your teeth) or decorate them with M&M’s or Smarties.
Sanni
Ingredients:
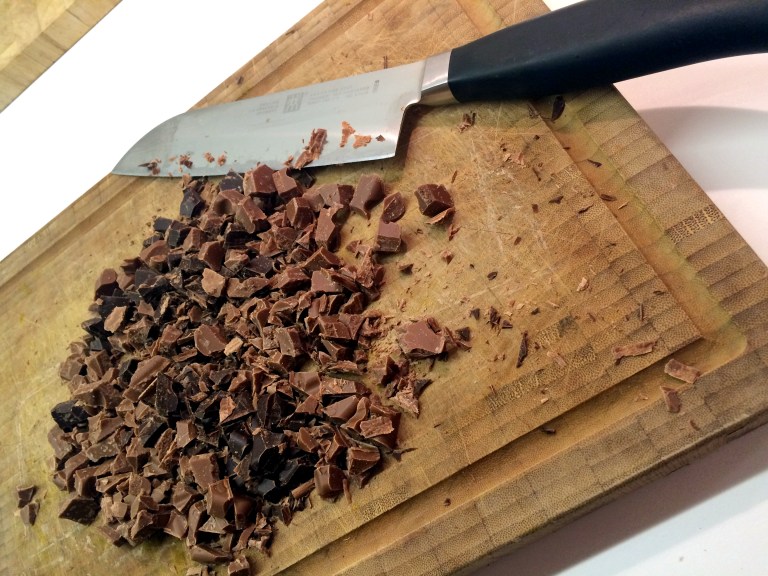
- 100 grams of milk chocolate
- 50 grams of dark chocolate
- 75 grams of cashew nuts (blanched, unsalted)
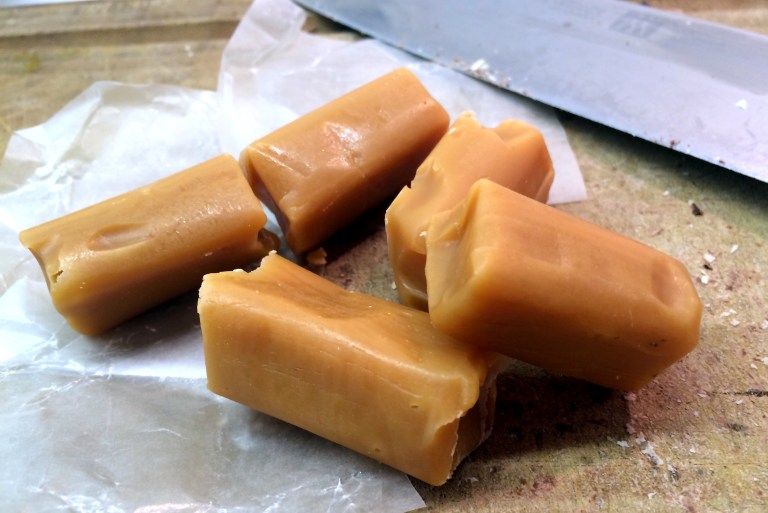
- 50 grams of soft toffees
- 125 grams of butter (soft)
- 1 large or 2 small eggs
- 50 grams of cocoa powder (from the baking section)
- 1/2 tea spoon of baking soda
- 150 to 200 grams of all-purpose white flour
- 60 to 80 grams of sugar
Preparation:
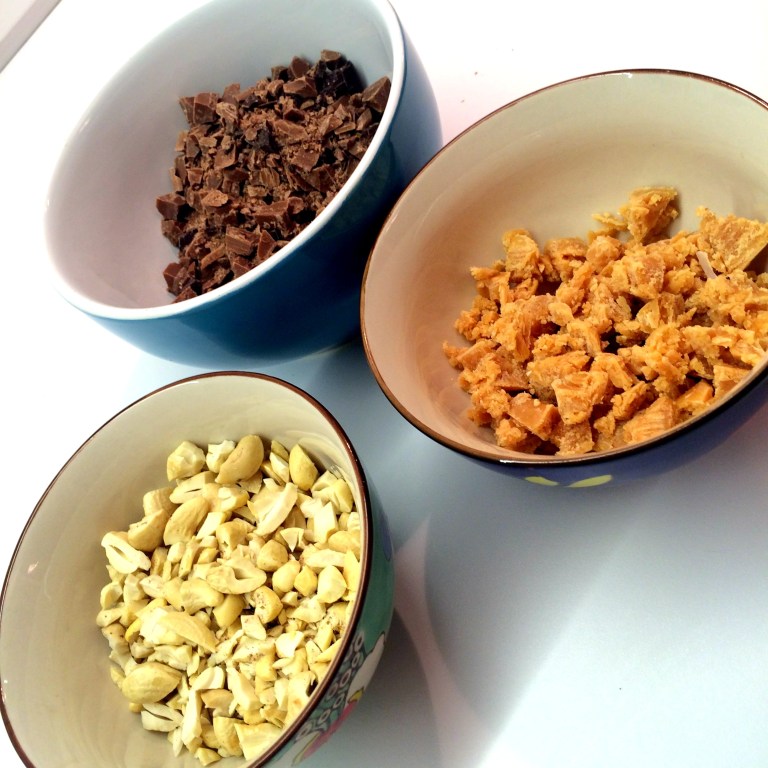
- Chop both types of chocolate, the nuts and the toffees into small chunks. Set aside a few of the nuts and toffee chunks for decoration.
- Beat the butter with an electric mixer until creamy. The color of the butter should change to almost white. Add the eggs and continue beating until creamy.
- Pass the cocoa powder, the baking soda and the flour through a fine mesh and then add bit by bit to the butter-egg-mix. Add the sugar at the end (depending on how sweet you like your cookies, add either more or less sugar within the range indicated above). You can still use the electric mixer at the beginning of adding the cocoa powder etc., but will gradually have to start kneading the dough as you integrate the flour. Start with 150 grams of flour, but add more if the dough should still be sticky.
- After adding the sugar, carefully integrate the chocolate chunks as well as the nuts and toffee (excluding the ones set aside for decoration). Do not knead for too long as the chocolate chunks will otherwise start melting from the warmth of you hands; they should however remain chunky.
- Cover a baking tray with baking paper. Pre-heat the oven to 180 degrees Celsius (fan oven).
- Form little balls of dough and put them on the baking tray. Use a teaspoon to portion the dough (approx. one heaped teaspoon of dough for the small cookies, two for large cookies). Leave space between the individual balls (12 per tray). Finally, press the balls into cookie shape with a teaspoon. Make sure they are still approx. 1/2 cm thick and do not press down the edges.
- Bake for 12 minutes and let cool down. They are perfect when the center is still moist and the outside nicely baked.
 .
.
