
Ever since Cyrus made me the gift of a long wished-for ice cream maker two years ago, I have struggled really hard with producing something that comes even close to the creamy, exotically flavored desserts that I was carrying in my mind until then, the acquisition of a kitchen tool seemingly being the only act standing between my sugar & cream-laden dreams and reality.
Well, it’s not that easy. I figured out very fast that whipping up some eggy dessert cream and throwing it into a machine does not at all result in anything deserving of the name „ice cream“. In fact, in order to achieve results that are somewhat satisfactory, ice cream-making requires some digging into the chemistry of cooking, namely into emulsifiers, stabilizers, sweetness degrees of different kinds of sugars and their effect on the creaminess of the ice cream, etc. etc.
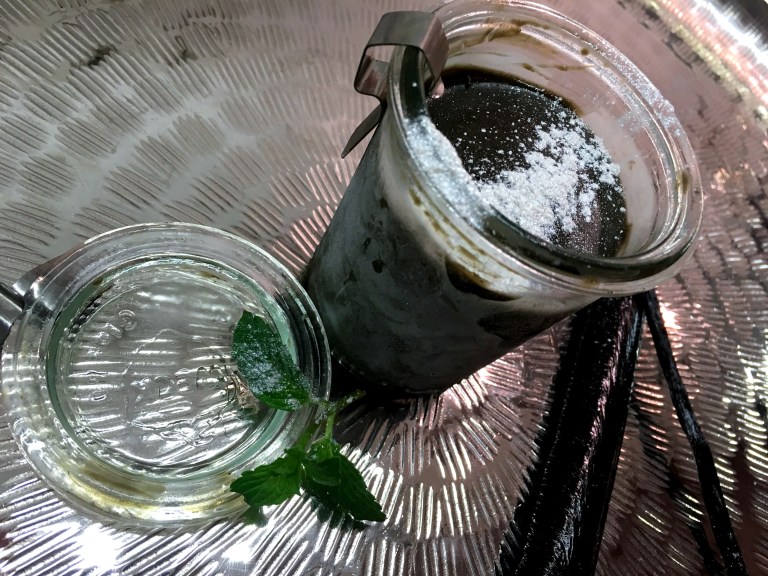
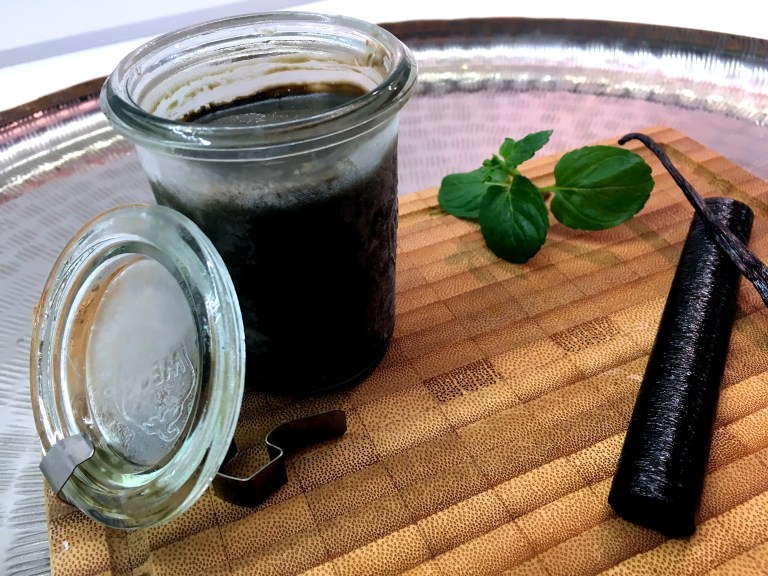
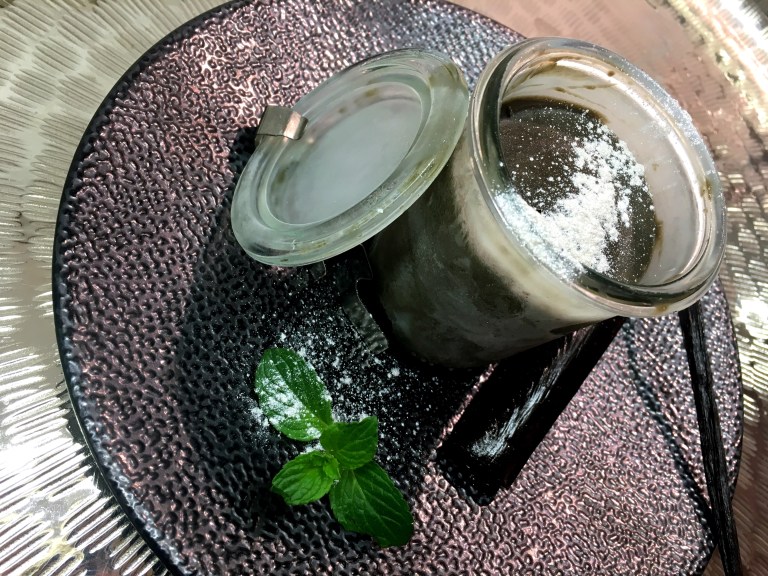
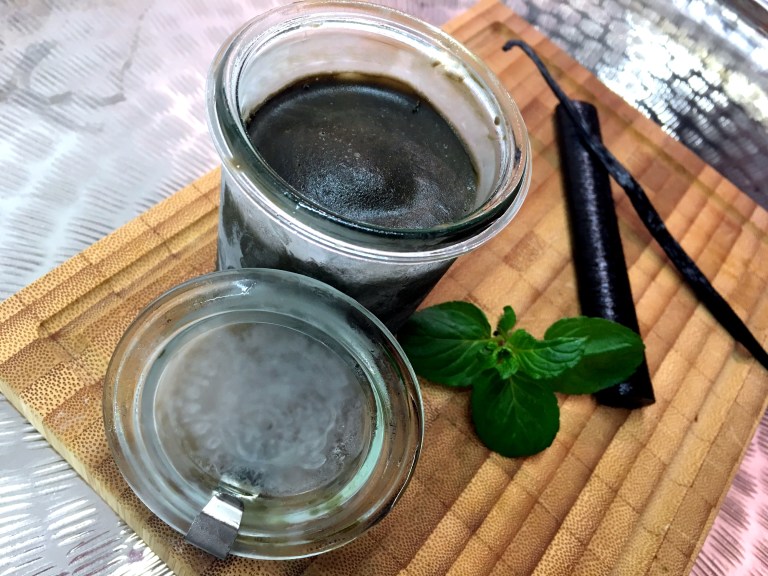
After numerous failed attempts (some of them utter and complete), I now stand at a point where I finally start getting both the process and the proportions right and I have managed for the first times to serve believably acclaimed ice cream desserts to my guests. One of them was this rather unusual, intensly flavored and colored liquorice ice cream. I hope you’ll enjoy it as much as I did!
Sanni
Ingredients:
- 25 grams of black liquorice ( from the spice shop)
- 175 ml of full-fat milk
- 175 ml of cream
- 4 egg yolks
- 1 vanilla pod
- 1 20-25 ml bottle of black food coloring (optional)
- 1 250 ml measuring cup filled up to 2/3 with dextrose and the remaining 1/3 with very finely granulated sugar
- 1 teaspoon of locust bean gum flour
Preparation:
- Roughly crush the liquorice in a mortar.
- Heat up 125 ml of water in a saucepan, add the liquorice and let it melt completely on low simmering temperature while stirring.
- In the meantime, warm up the milk and cream until almost boiling. Keep at that temperature.
- Cut the vanilla pod in half and remove the seeds with the back of a knife. Beat the egg yolk, dextrose and sugar and the vanilla seeds in a large mixing bowl until creamy.
- Bit by bit, add the hot milk and cream mix. Beat constantly and on high speed to prevent the egg from coagulating.
- Have a large bowl filled with cold water and ice cubes ready (alternatively, fill the sink with cold water and ice cubes). You should be able to dip the saucepan used in the next step into the cold water to cool down the mix quickly.
- Transfer the mix to a saucepan. While continuously beating on medium to high temperature, add the melted liquorice and the food coloring (without the food coloring, liquorice ice cream will look rather unattractively grey, while the color will be much nicer with the food coloring added; for a more intense black, add at least twice of the amount of food coloring suggested above. This being said, this step remains, of course, optional.) Let thicken on the heat, but make sure that the egg does not coagulate. To test the result, dip a spoon into the mix and blow over its back side – when the liquid form eaves which look a bit like rose petals (the German expression would be „zur Rose abziehen „) , it is done. Note that this step is a bit tricky – observe the consistency of the mix permanently and keep beating, transfer the saucepan to the cold water while still beating at the right moment and beat in the cild water bath until cooled down.
- In very small increments, add the locust bean gum flour to the mix while beating it on high speed. To prevent lumps, I recommend passing it through a sieve one pinch at a time. (The locust bean gum flour will prevent the formation of ice crystals during the freezing process and is absolutely essential for the creaminess of the outcome. In my experience, the egg yolk alone won’t do the trick.)
- Transfer to the ice machine. At the end of the stirring time, very quickly transfer the ice cream to the freezer and keep there for at least 2 hours before serving.